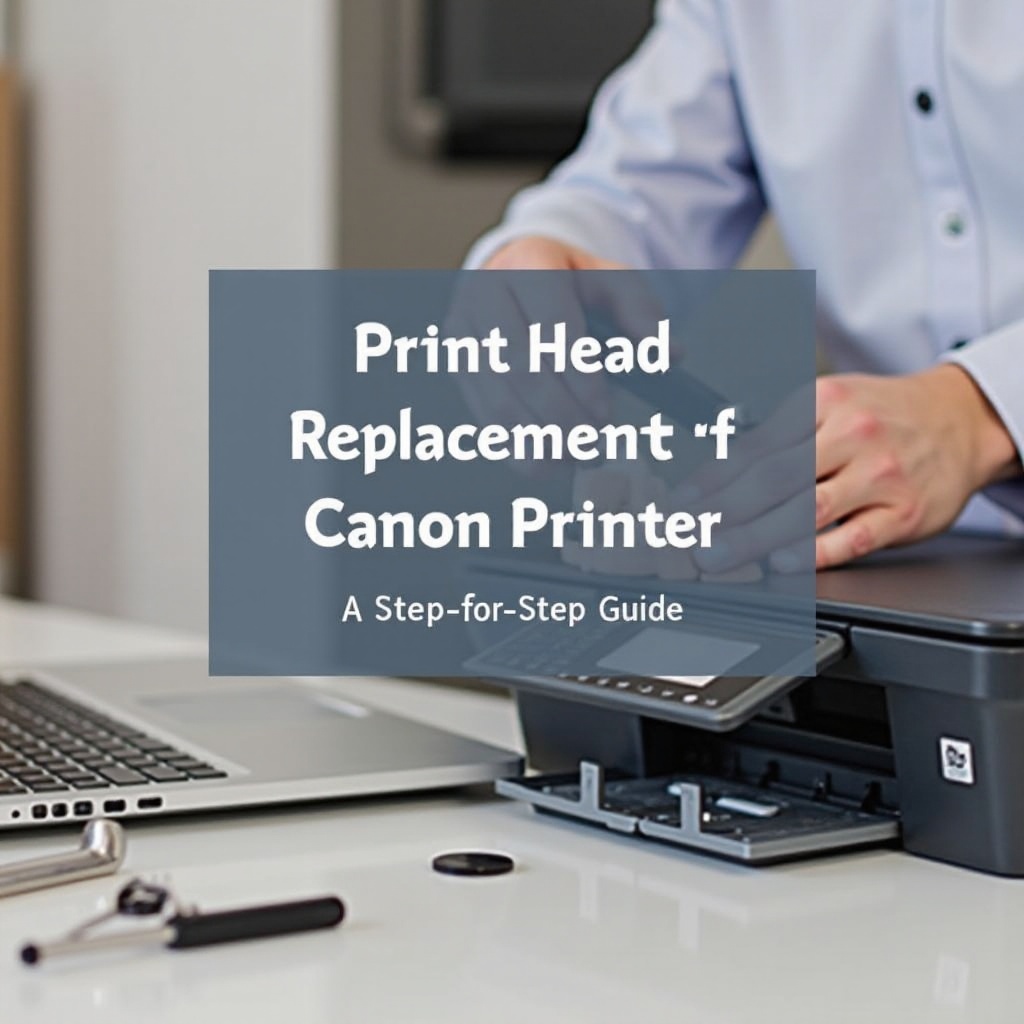
Print Head Replacement for Canon Printers: A Step-by-Step Guide
Introduction
Printer maintenance is crucial to ensure that your Canon device consistently produces high-quality prints without unexpected hiccups. One critical aspect of this maintenance is the print head — a vital component responsible for transferring ink onto paper. Knowing how to diagnose and replace a faulty print head can save you both time and money, while naturally extending the longevity of your printer. This guide will walk you through the entire process of diagnosing print head issues, preparing for a replacement, and the step-by-step procedures required to efficiently replace a print head in your Canon printer.

Understanding Print Heads and Their Importance
What is a Print Head?
A print head is the component in your printer that houses the ink cartridges and facilitates the transfer of ink onto paper. It moves back and forth across the paper, controlled by the printer’s software, ejecting ink droplets with precision to create text and images. The print head is highly sophisticated and is pivotal in achieving sharp, clear prints with accurate colors.
Why Print Head Maintenance Matters
Maintenance of the print head is critical as it ensures the longevity and efficiency of your printer. Regular cleaning prevents clogging, which can degrade print quality. Additionally, timely replacement of a failing print head can mitigate more significant issues that could impair the entire printing mechanism or result in more expensive repairs.
Diagnosing Print Head Issues
Before diving into the replacement process, it’s essential to confirm that your print head is indeed the source of any printing problems. Diagnosing issues accurately saves time and avoids unnecessary expenditure.
Signs of a Faulty Print Head
A faulty print head often exhibits several symptoms: 1. Streaks or missing lines in print output. 2. Ink smudges or uneven color distribution. 3. Frequent error messages on your printer’s display. 4. Persistent poor print quality despite using new cartridges.
Common Causes of Print Head Failure
Several factors could lead to a print head malfunction: 1. Dried ink due to infrequent use. 2. Dust or debris accumulation. 3. Using low-quality or incompatible ink cartridges. 4. Wear and tear from prolonged use.
Performing Diagnostic Tests
To confirm that your print head is the problem: 1. Run the built-in printer diagnostic tests, including print head alignment and nozzle check. 2. Review the test prints for any inconsistencies such as gaps or streaks. 3. Consult the printer’s manual or Canon’s online resources for specific diagnostic steps tailored to your model.
Preparing for Print Head Replacement
Once you've confirmed that the print head needs replacing, preparation is key to ensuring a smooth process.
Necessary Tools and Materials
You will need: 1. A new, compatible print head. 2. Screwdrivers suitable for your Canon printer. 3. A lint-free cloth and cleaning solution. 4. Latex gloves to keep the components clean and avoid ink stains.
Safety Precautions
Take the following precautions to avoid any damage or injury: 1. Ensure the printer is turned off and unplugged before you begin. 2. Avoid touching any electronic components directly with your hands. 3. Work in a clean, well-lit area to keep track of small parts and screws.
Step-by-Step Print Head Replacement Process
Turning Off and Unplugging the Printer
- Ensure your printer is turned off and unplugged. This measure prevents any electrical hazards and accidental operations during the replacement process.
Accessing the Print Head
- Open the printer cover to access the internal components. Consult your printer’s manual if you’re unsure how to do this for your specific model.
- Wait for the print carriage to move to the center and become stationary. This position gives you easy access to the print head.
Removing the Old Print Head
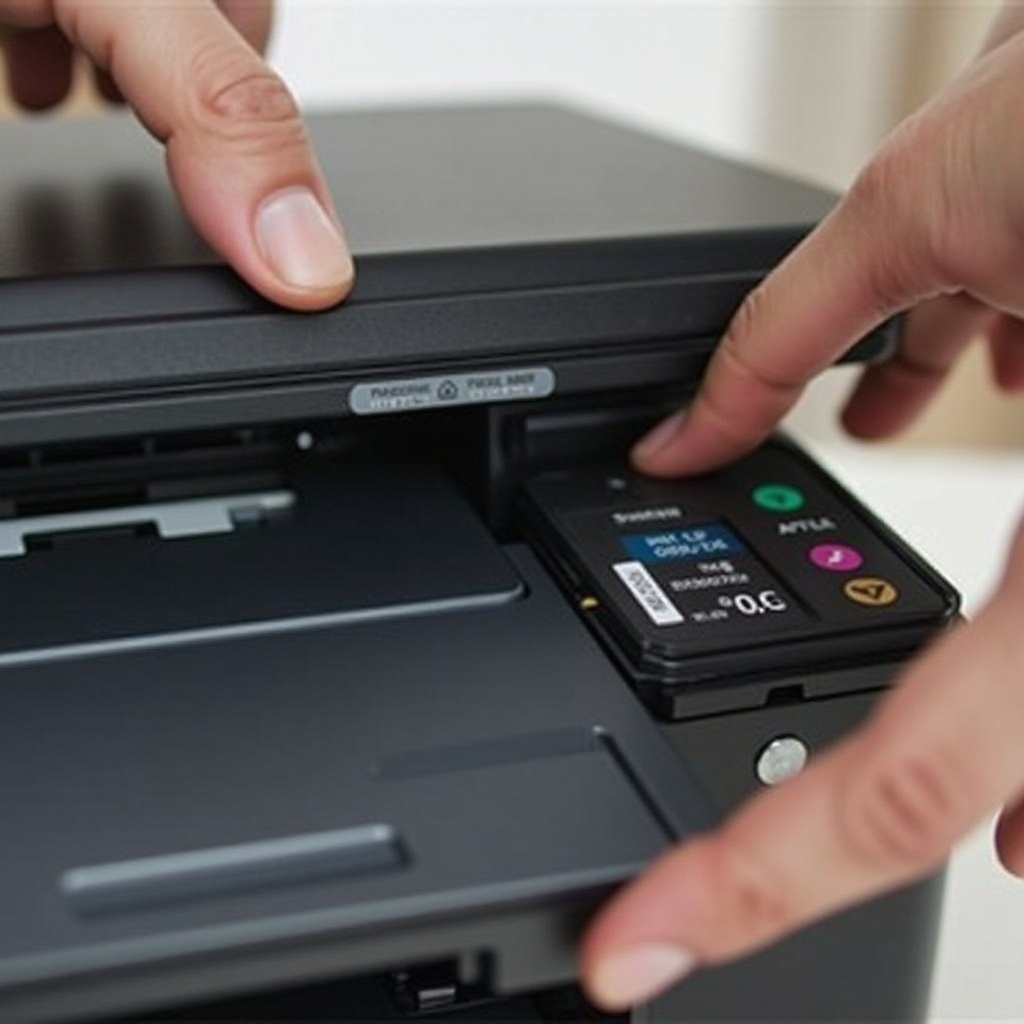
- Press the provided release lever or button to detach the ink cartridges from the print head. Remove all the cartridges and set them aside carefully.
- Locate the print head and gently lift the locking lever or mechanism. Carefully lift out the old print head while avoiding contact with the print nozzles and circuits.
Installing the New Print Head
- Unpack the new print head carefully. Hold it by the edges to avoid contamination.
- Insert the new print head into the corresponding slot, ensuring it is firmly seated.
- Lock the print head into place by lowering the latch gently.
Reassembly and Final Checks
- Reinsert the ink cartridges into their respective slots. Ensure they click into place securely.
- Close the printer cover and reconnect the power cable.
- Turn on the printer and wait for it to initialize.
Post-Replacement Steps
Printer Reset and Calibration
After replacing the print head, reset and calibrate the printer to ensure it recognizes the new component and functions correctly: 1. Follow the printer’s reset instructions found in the user manual. 2. Use the printer’s built-in calibration tools to align the print head for optimal performance.
Running Test Prints
Run a test print to verify that the new print head is working correctly. Check the print output for any visible issues and ensure the quality meets your expectations. If there are issues, run another diagnostic and cleaning cycle.

Tips to Prolong Print Head Life
Taking some proactive steps can significantly prolong the life of your print head and maintain optimal printing performance.
Regular Maintenance Practices
- Clean the print head regularly using the printer’s built-in cleaning functions.
- Keep the printer dust-free and store it in a cool, dry location.
Using Genuine Ink Cartridges
Always use genuine Canon ink cartridges. They are designed to work perfectly with your printer and prevent issues caused by incompatible or low-quality alternatives.
Troubleshooting Common Issues
Even after careful replacement, you might face some initial hiccups. Here’s how to handle common post-replacement issues:
Poor Print Quality After Replacement
- Run advanced cleaning cycles from the printer’s maintenance menu.
- Check for and remove any protective tapes from the new print head.
Error Messages and What They Mean
- If you encounter error messages, refer to your printer’s manual or Canon’s support site for specific troubleshooting steps.
- Double-check the installation to ensure the print head and cartridges are correctly seated.

Conclusion
Proper print head maintenance and timely replacement can significantly enhance your Canon printer’s performance and lifespan. Following this comprehensive guide step-by-step will ensure you effectively manage any print head issues and maintain top-notch print quality. Stay proactive with regular maintenance and use only original Canon products to keep your printer running smoothly for years.
Frequently Asked Questions
How often should I replace my Canon printer’s print head?
Print head replacement frequency varies depending on usage and maintenance. Regular cleaning can prolong its life; replacement is often necessary only when print quality significantly deteriorates.
Can I use third-party print heads for my Canon printer?
While third-party print heads may be cheaper, they can void your warranty and potentially damage your printer. It’s best to use genuine Canon print heads for compatibility and reliability.
What should I do if my printer doesn't recognize the new print head?
If your printer doesn't recognize the new print head, ensure it’s properly installed and secure. Reset the printer, and check for any firmware updates that might be required. If problems persist, consult Canon support.


